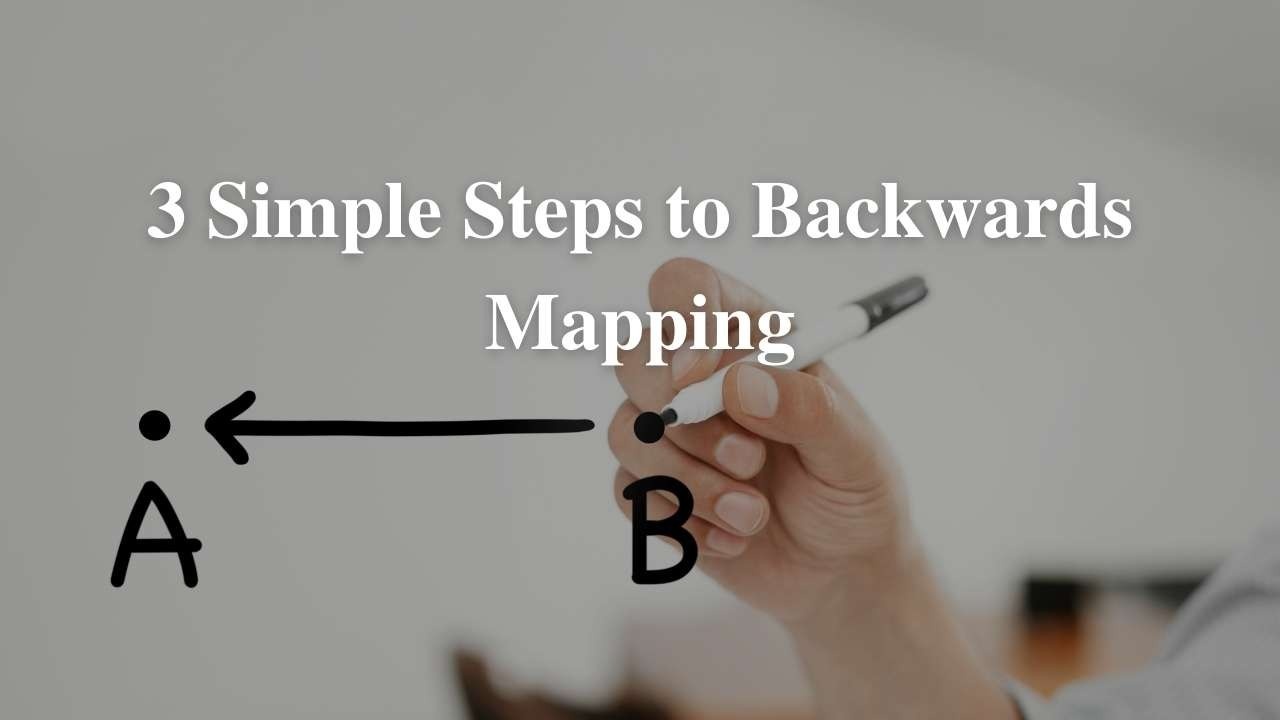
Backwards mapping, aka backwards design or backwards planning is not new in education and I sure hope you use it. As a basic definition backwards mapping is
The process of creating lessons and learning activities by beginning with the end in mind (learning goals and objectives) before creating learning activities that are designe to achieve the learning goals. - Dan 🙂
It can be hard at times to work out exactly how to do this, but I have a secret, I have found a simple 3-step process that will help you design lessons or units of work that work. ie they enable students to achieve the goals you set for them.
Check out the online webinar series on unit design for PDHPE
Step 1 - Set the Goals
No surprises for guessing where you have to start. Set the learning goals for your students. These can be goals for the whole unit or goals for the lesson. The trick is to make sure you don't have too many of them, 1-3 is plenty. Of course, these learning goals are sometimes broad so you may like to break them down into subgoals, especially if you are creating a whole unit of work.
Now the key element missing from the above is really the detail that helps you design the learning. It can be hard to go from a goal to activities, so let's also add a few key understandings or skills your student would have if they were to achieve the goal. Let me give you an example.
Let's take the following:
Students:
- investigate the impact of transition and change on identity (ACPPS070)
– investigate the changing nature of personal identity and how it can differ in various contexts, eg home, school, sport, online identityThe goal might be for students to understand how change can impact their identity. Now in order to get there we need to add a few things such as:
- have the skills to do research and investigate
- be inquisitive and curios
- compare and contrast personal identity in various contexts
- know who they are and how they present themselves in different contexts
Step 2 - What does it look like?
This second step is an intermediate step before you dive into lesson planning and all your ideas to help students learn. Here you need to identify what it might look like if a student achieves the goal/s and understandings/skills. How will you or they know they have been successful? This is very much like creating success criteria or thinking through the evidence a student might give you to prove they have achieved the goals. Here are a few examples for our lesson be have begun:
- answers 8+/10 questions in the quiz correctly
- completing a similarities and differences table
- conducts quality research
- asks questions
- creates a collague representing themselves in various contexts
Step 3 - Design the Learning
We finally arrive at the final step in this process of backwards mapping - designing learning. Notice it does not say designing teaching. The goal here is to have students learn, not for you to teach (yes there is a difference). Here you might think through how you're going to get the students hooked into the lesson. What will spark their curiosity or get them engaged? Consider how you will allow them to do research and what skill or skills you might focus on specifically. What content will the students engage with (think videos, articles, blogs, podcasts, social media etc)? what will you use for formative assessment and how will you ensure it is quick and easy to analyse the results? How are you going to differentiate the learning? Or how will you conclude the lesson?
There is plenty to consider in this step and its size will vary according to the time allocated to the learning. Let me provide a conclusion to the lesson above.
- The lesson will start with a short clip on our ability to be whomever we want to be on social media.
- I will then have students discuss the clip in small groups and consider how they present themselves on the internet.
- In their groups, they will look at each other's social media accounts and compare it to how they present themselves at school. Do they say things differently? Are they shy or outgoing? etc
- The students are then given some personal reflection time to answer a few questions: how am I the same or different in the following contexts - school, sm, sports team, and at home? Why? How can I be sure of my answer? Can I find evidence or provide examples?
- Students will then use Canva to create a collage that captures their similarities in the mddle and the differences on the outside.
- Once completed students will finish the lesson by doing an online reflective survey relating to how theire undertsanding/skills have improved this lesson in relation to those listed above.
Next Steps
- Read the book Understanding by Design by Wiggins and McTighe, or
- Complete my online unit design series (it is free and focuses on applying this process to unit creation for Stage 6 PDHPE)
Subscribe to the site
Get tips to help you:
- teach PDHPE
- engage your students
- improve your practice
and a whole lot more.
We hate SPAM. We will never sell your information, for any reason.
